


There’s a special kind of magic when flour, water, yeast, and a little patience come together to create warm, fragrant loaves of homemade bread. Beyond the comforting aroma and irresistible crust, baking your own bread is an art—and one of the most budget-friendly pleasures in the kitchen. Whether you’re a novice eager to knead your first dough or a seasoned baker looking to save a few dollars, this guide will show you how to enjoy fresh, wholesome bread straight from your oven without breaking the bank. Let’s dive into the world of simple ingredients transforming into satisfying slices of homemade goodness.
Budget-Friendly Bliss begins with selecting the right ingredients that balance cost and rich flavor, transforming your kitchen into a warm bakery of your own. Fresh, simple pantry staples such as quality flour, active yeast, and a pinch of salt pave the way for an irresistible loaf that rivals your local bakery’s finest. Embarking on this bread-making journey will reveal the beauty of affordable baking without sacrificing taste or texture.
Prep and Cook Time
- Readiness: 15 minutes
- First rise: 1 hour 30 minutes
- shaping and second rise: 45 minutes
- Baking: 30 minutes
- Total: Approximately 3 hours
Yield
1 loaf (about 12 slices)
Difficulty Level
Easy to Medium - perfect for beginners eager to build confidence with authentic homemade bread.
Ingredients
- 3 ½ cups (420g) all-purpose flour, sifted
- 1 packet (2 ¼ tsp) active dry yeast
- 1 ¼ cups (300ml) warm water (110°F/43°C)
- 2 tbsp granulated sugar
- 2 tsp fine sea salt
- 2 tbsp olive oil (extra virgin for flavor)
- Optional: 1 tbsp honey or malt syrup for subtle sweetness
Instructions
- Activate the yeast: In a small bowl, combine warm water and sugar. Sprinkle the yeast over the surface and let it bloom for 5-10 minutes until foamy. This guarantees an active starter for your dough.
- Mix the dough: In a large mixing bowl, whisk together the flour and salt. Create a well in the center and pour in the yeast mixture along with olive oil. Stir gently with a wooden spoon until the dough begins to come together.
- Knead to perfection: Turn the dough out onto a lightly floured surface. Knead vigorously for 8-10 minutes until smooth and slightly elastic. If the dough feels sticky, add small pinches of flour, but avoid overdoing to keep the bread tender.
- first rise: Place the dough in a lightly oiled bowl, cover with a damp kitchen towel or plastic wrap, and set in a warm spot to rise for about 1½ hours or until doubled in size. This slow fermentation builds flavor and airy texture.
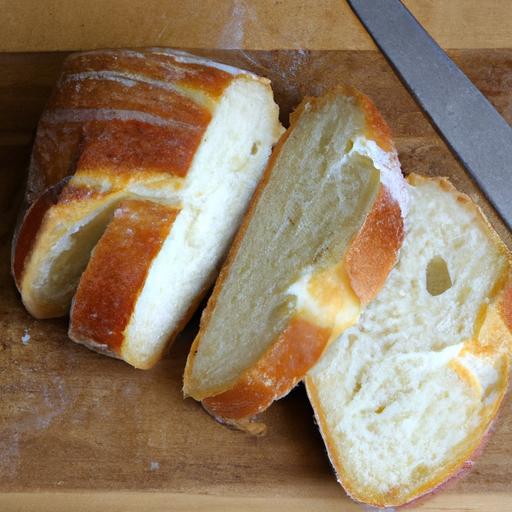
- Shape the loaf: Gently deflate the dough and shape it into a tight oval or round loaf. Place onto a parchment-lined baking sheet or a floured proofing basket for a more artisanal crust.
- Second rise: Cover the shaped dough loosely and let it rise again for 40-45 minutes until puffy but not over-inflated.
- Preheat your oven: Set your oven to 425°F (220°C). To mimic bakery steam, place an empty metal tray on the oven floor.
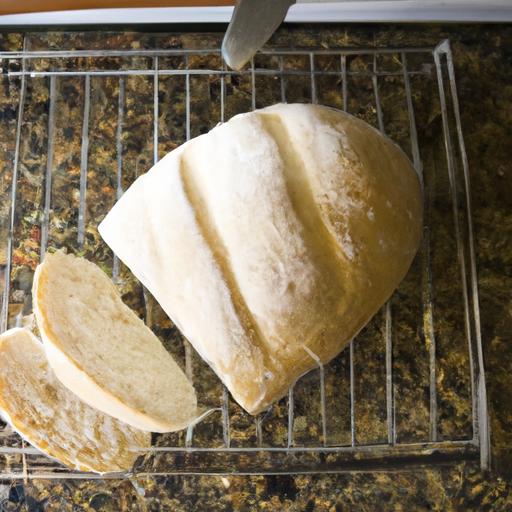
- Score and bake: Just before baking, confidently slash a few shallow cuts across the top with a sharp serrated knife. Quickly pour a cup of hot water onto the empty tray and promptly place the dough inside to bake for 30 minutes or until beautifully golden-brown with a crisp crust.
- Cool and enjoy: Remove your masterpiece from the oven and transfer to a wire rack.Allow it to cool completely to avoid gummy slices and to set the crumb.
Tips for Success: Creative Variations and Storage
- Whole wheat upgrade: Replace half the all-purpose flour with whole wheat for a nuttier, hearty loaf while maintaining budget-friendly bliss.
- Herb infusion: Add 1 tbsp of dried rosemary, thyme, or Italian herb blend into the dry ingredients to create an aromatic twist.
- Gluten-free option: use a gluten-free flour blend and add 1 tsp xanthan gum to improve structure while keeping costs low.
- Freezing your bread: Slice completely cooled loaves and freeze in resealable bags. Defrost slices in a toaster for fresh-baked warmth any time.
- Troubleshooting pitfalls: If your dough isn’t rising, check yeast freshness and water temperature. Too hot water kills yeast; too cool slows it down.
- Make-ahead dough: For a slow-rise flavor boost, refrigerate the dough after the first knead for up to 24 hours, then shape and bake fresh.
Serving Suggestions
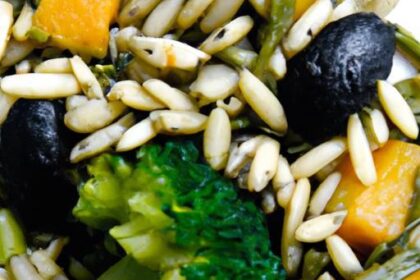
This humble loaf shines as the canvas for countless uses. Serve thick slices warmed with creamy butter and a sprinkle of flaky sea salt, or accompany a vibrant tomato basil soup for ultimate comfort. Toast it lightly and top with mashed avocado, a drizzle of olive oil, and cracked black pepper for a fresh midday snack. Garnish with fresh herbs like parsley or chives for an inviting presentation that excites all the senses.
| Nutrient | Per Slice (approx.) |
|---|---|
| Calories | 120 kcal |
| Protein | 4 g |
| Carbohydrates | 22 g |
| Fat | 2 g |

For a deeper dive into bread science and expert baking tips, visit the King Arthur Baking Guide,a fantastic resource trusted by home bakers worldwide.
Explore more on artisanal baking techniques and flavor boosters in our related post: Easy Artisanal Bread Recipes to Elevate Your Baking.
Q&A
Q&A: Budget-Friendly bliss: Crafting Delicious Homemade Bread
Q1: Why is making bread at home considered budget-friendly?
A1: Baking bread at home slashes expenses by cutting out the middleman-no store markup or fancy packaging. Basic ingredients like flour, water, yeast, and salt are inexpensive and can yield numerous loaves. Plus, homemade bread means fewer trips to the store and less reliance on costly convenience foods.
Q2: What are the essential ingredients for a simple homemade bread?
A2: The classic quartet: flour, water, yeast, and salt. Thes humble ingredients combine to create a canvas for endless variations. You don’t need fancy additives-just patience and a little elbow grease.
Q3: How can beginners ensure their bread turns out well?
A3: Follow a reliable recipe and pay attention to dough texture rather than timing. The dough should be slightly tacky, spring back when poked, and allowed to rise fully—patience develops flavor and structure.
Q4: Any tricks to boost flavor without increasing cost?
A4: Yes! Add herbs, garlic, or seeds from your pantry. Cold fermenting the dough overnight also deepens flavor naturally.
Q5: What kitchen tools are really necessary for homemade bread?
A5: Minimal tools suffice: a mixing bowl, wooden spoon or spatula, and a baking sheet or Dutch oven. A kitchen scale is helpful but cups work fine—no fancy gadgets needed!
Q6: Can I make homemade bread without yeast?
A6: Yes, you can explore rapid breads made with baking soda or baking powder, like soda bread or banana bread, which don’t require yeast. For traditional yeast bread, wild yeast from sourdough starter offers a natural choice, though it takes a bit more nurturing.
Q7: How do I store homemade bread so it stays fresh longer?
A7: Wrap your loaf in a clean cloth or parchment paper and store it in a bread box or a paper bag to keep the crust crisp while preventing staleness. Avoid plastic bags unless freezing,as they trap moisture and soften the crust.
Q8: Any tips for baking bread on a tight schedule?
A8: No-knead bread is your best friend here! It requires minimal hands-on time and instead relies on a long rise, often overnight, to develop gluten and flavor. When ready, it bakes quickly and produces a wonderful crust.
Q9: How can homemade bread support a healthier lifestyle?
A9: Homemade bread lets you control every ingredient, avoiding preservatives, excess sugar, or hidden additives. You can incorporate whole grains, seeds, or sprouted flours to boost nutrition and tailor bread to your dietary needs.
Q10: What’s the most rewarding part of baking bread at home?
A10: Beyond the delicious,warm crust and tender crumb,it’s the sensory joy-the scent of dough rising,the rhythmic kneading,and the magic of transforming simple ingredients into a nourishing loaf. Each bake offers a quiet moment of creativity and accomplishment.
To Conclude
As the warm aroma of freshly baked bread fills your kitchen, you’ll realize that crafting homemade loaves isn’t just a budget-friendly choice-it’s a delightful journey of creativity and comfort. With simple ingredients and a sprinkle of patience, you can transform everyday staples into golden, crusty treasures that nourish both body and soul. So, roll up your sleeves, embrace the art of baking, and savor the satisfying bliss that comes from making bread with your own hands. After all, some of life’s greatest pleasures rise right from the simplest beginnings.