
In the grand symphony of daily life, Master Meal Prep is the unsung hero that turns chaotic cravings into harmonious nourishment. But beyond chopping and cooking lies a secret art—Master Meal Prep that focuses on storage mastery to keep those vibrant flavors alive and well. Welcome to “Master Meal Prep: Smart Storage Tips for Fresh Flavors,” where we unlock the science and creativity behind preserving the essence of your meals. From savvy container choices to clever layering techniques, this Master Meal Prep guide will empower you to savor every bite as if it were just made, transforming your kitchen routine into a feast of freshness.
Master Meal Prep: Smart Storage Tips for Fresh Flavors begins with understanding how the right containers, portioning methods, and storage techniques can dramatically preserve the taste and texture of your meals. Whether you’re preparing vibrant salads, hearty stews, or delicately spiced grains, selecting optimal storage solutions is key to maintaining that just-cooked appeal throughout your week.
Choosing the Right Containers to Preserve Taste and Texture
Investing in airtight, BPA-free containers ensures your ingredients stay fresh, flavorful, and free from unwanted odors or moisture. Glass containers with silicone seals are ideal for hot and cold dishes alike, preventing condensation that can make greens soggy or proteins mushy. For delicate items, Master Meal Prep experts recommend shallow, wide containers to disperse heat evenly during reheating, safeguarding textures.
Stackable containers with snap-on lids maximize fridge and freezer space while minimizing air exposure. Avoid excessive headspace—it invites oxidation and freezer burn, dulling flavors. Portion your meals into sizes you typically consume in one sitting to reduce repeated reheating cycles that sap moisture and vibrancy. With Master Meal Prep, freshness isn’t a challenge—it’s a lifestyle.
Innovative Techniques for Portioning and Labeling Your Meals
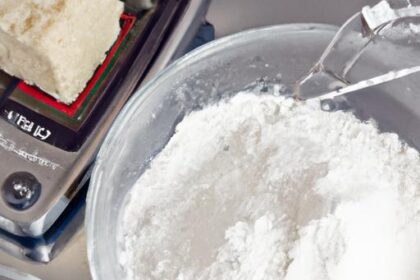
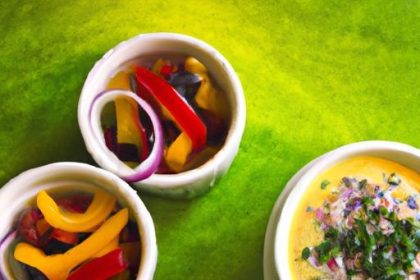
Precision in portioning is as much an art as it is practical. Using digital kitchen scales helps create uniform servings that support consistent nutrition tracking and prevent food waste. Separate sauces or dressings in mini containers to add just before eating-this preserves crunch and prevents sogginess.
Labeling, while often overlooked, is critical. Utilize erasable labels or printable stickers with dates and meal details. This swift visual cue prevents confusion and helps you enjoy your freshest meals first. Consider colour-coding for different meal types (e.g., green for plant-based, blue for proteins) to simplify your grab-and-go routine.
optimal Refrigeration and Freezing Practices for Maximum Freshness
Set your refrigerator between 34°F and 40°F (1°C-4°C) and your freezer at 0°F (-18°C) for food safety and quality preservation. Before refrigeration, allow piping hot dishes to cool slightly at room temperature-no longer than two hours-to avoid condensation buildup inside containers.
For freezing, flash freeze flat portions on parchment-lined trays then transfer to airtight bags to minimize clumping and freezer burn. Managing moisture levels is crucial: wrapping fruits or veggies with a paper towel inside containers absorbs excess moisture, extending shelf life substantially.
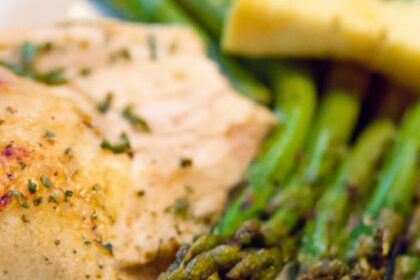
Reviving prepped Meals with Simple Reheating Secrets
Reheating is when many meals lose their charm, but with a few tricks, you can revive them as though freshly cooked. Add a splash of broth, water, or a drizzle of quality olive oil before microwaving or warming on stovetop to restore moisture lost in storage.
Use lower power settings on your microwave and stir or rotate midway to ensure even heat distribution without overcooking edges.For items like roasted vegetables or grains, reheating in a hot oven or toaster oven for 8 to 12 minutes crisp up textures beautifully, reigniting flavors.
always finish with fresh herbs or a squeeze of lemon juice to brighten and elevate your reheated meal, making each bite a fresh experience.
Prep and Cook Time
- Prep Time: Varies depending on meal components (typically 15-30 minutes)
- Cook Time: Varies depending on recipes prepared (average 20-40 minutes)
Yield
Portions customizable; designed to provide 4-6 servings for weekly meal planning convenience.
Difficulty Level
Medium - Requires basic kitchen skills and familiarity with food storage principles.
Ingredients
- Glass storage containers with airtight silicone lids, assorted sizes
- BPA-free plastic containers with snap-lock lids
- Freezer-safe resealable bags in quart and gallon sizes
- Digital kitchen scale for precise portioning
- Chalkboard labels or erasable stickers for clear meal identification
- Paper towels for moisture absorption
- Silicone baking mats or parchment paper for freezing flat portions
- Olive oil or broth for reheating enhancement
Instructions
- Prepare each meal component according to your recipes, ensuring ingredients are rested and cooled to room temperature before storage.
- Choose the correct container size to match meal portion sizes; ideally, meals should consume the entire container space to limit air exposure.
- Separate sauces or dressings into mini containers when prepping salads or grain bowls to maintain crisp textures.
- Flash freeze individual portions by spreading them flat on lined trays, then transfer frozen blocks to freezer-safe bags for space-efficient stacking.
- Apply clear labels on all containers indicating meal name, date prepared, and reheating instructions for effortless meal management.
- Store refrigerated meals promptly at 34-40°F and frozen meals at 0°F, ensuring the fridge/freezer environment is tidy and air circulation is unimpaired.
- When reheating, add a splash of olive oil or broth before microwaving or warming in the oven to restore moisture and flavour complexity.
- Stir or flip food halfway through reheating cycles to ensure even heating and prevent dry spots.
- Finish reheated meals with a garnish of fresh herbs or a squeeze of citrus for a vibrant flavor boost.
tips for Success
- Always cool hot dishes uncovered on the counter briefly to avoid trapping steam inside containers that creates sogginess.
- Use glass containers for acidic or tomato-based meals as plastic can absorb flavors and odors.
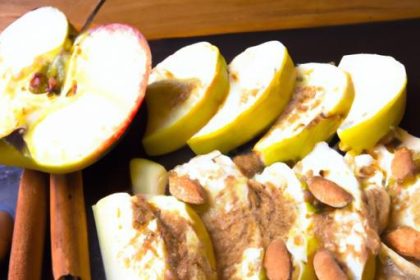
- Keep dry ingredients like nuts, seeds, or crunchy toppings stored separately and add them last minute to maintain texture.
- To track freshness, take advantage of digital kitchen scales for portion control and invest in a meal prep app or journal for labeling and meal rotation.
- Reheat veggies gently to avoid turning them mushy - a quick 2-3 minutes at medium heat ensures they remain vibrant.
Serving Suggestions
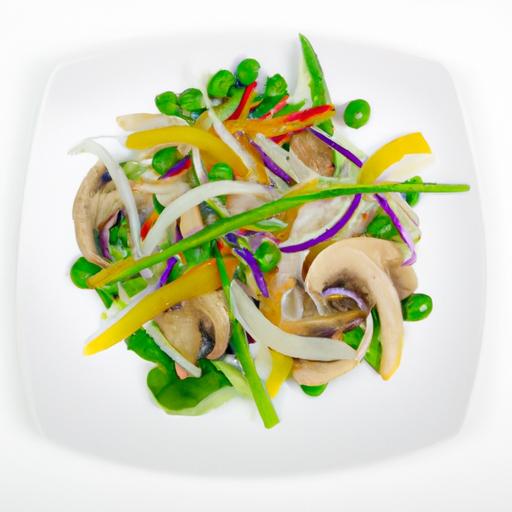
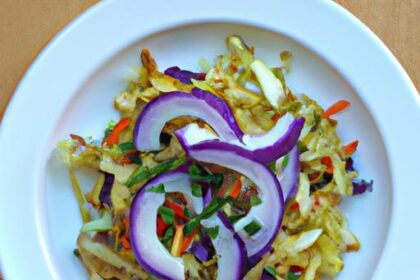
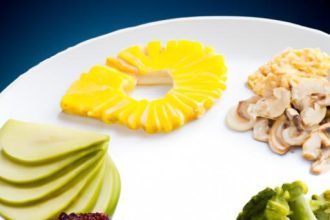
Present your meal prep dishes on simple white plates to highlight natural colors and textures. Garnish grains or proteins with a sprinkle of toasted sesame seeds, a few bright microgreens, or freshly cracked black pepper. For salads or bowls, drizzle with a finishing extra virgin olive oil or a hint of lemon zest just before serving. Pair warm meal options with a crisp side salad dressed tangily for balanced flavors and textures.

| Nutrient | Per Serving |
|---|---|
| Calories | 350 kcal |
| Protein | 25g |
| Carbohydrates | 40g |
| Fat | 12g |
For additional inspiration on meal prep strategies,check out our Healthy Meal Prep Ideas. To deepen your knowledge of food safety during storage, visit the FDA Food Safety Guidelines.
Q&A
Q&A: Master Meal Prep - Smart Storage Tips for Fresh Flavors
Q1: Why is proper storage so critically important in meal prepping?
A1: Think of storage as the secret ingredient to preserving your dishes’ vibrant flavors and textures. Proper storage slows down spoilage, locks in nutrients, and keeps meals tasting as fresh as the moment they were crafted. Without it,even the best-prepared meals can fall flat,losing their appeal and nutritional punch.
Q2: What are the best containers for keeping prepped meals fresh?
A2: Clear, airtight containers are your kitchen superheroes.Glass containers with tight-fitting lids are ideal-they’re non-reactive, stain-resistant, and microwave-safe. BPA-free plastic containers also work well, especially if you’re on-the-go.Opting for stackable designs maximizes fridge space while minimizing flavor mingling between dishes.
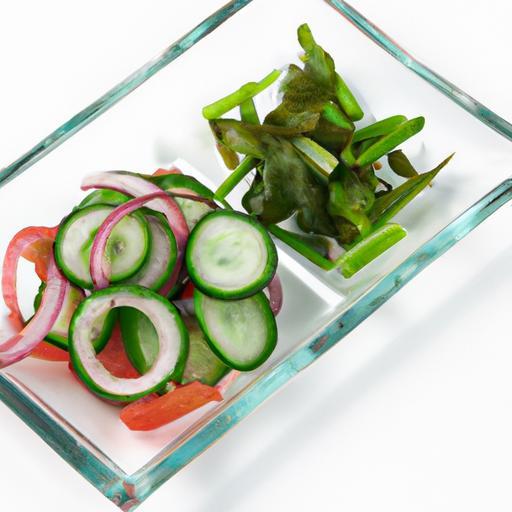
Q3: How can I prevent sogginess in salads and crunchy veggies?
A3: The trick is to keep wet and dry ingredients separate until mealtime. Store greens and chopped vegetables in moisture-resistant containers or wrap them in paper towels to absorb excess dampness. Dressings should always be packed apart-shake them up just before serving to maintain that fresh, crisp bite.
Q4: Can freezing be a meal prep-kind option without sacrificing flavor?
A4: Absolutely! Freezing locks in freshness by halting bacterial growth.For best results, cool meals fully before freezing, and portion them into single servings. Use freezer-safe bags or containers, removing as much air as possible to avoid freezer burn.Defrost gently in the fridge overnight to preserve texture and taste.
Q5: How long can prepped meals safely stay fresh in the fridge?
A5: Generally,cooked meals stay fresh for 3 to 4 days refrigerated at 40°F (4°C) or below.Fresh-cut fruits and veggies often last around 3 to 5 days. If you plan to eat later, freezing is a smarter choice to maintain peak flavor and safety.
Q6: Any clever hacks for organizing the fridge to keep meal preps fresh?
A6: Absolutely-create zones! Dedicate shelves or bins to different meal types or ingredients. Store cooked proteins on top shelves, where temperatures are most consistent.Keep fruits and veggies in the crisper drawers with humidity controls tailored to each. Label containers with dates to enjoy your freshest meals first.
Q7: What spices or herbs hold up well during storage?
A7: Hardy herbs like rosemary, thyme, and oregano maintain their punch even after days of chilling. Fresh herbs like cilantro and basil are best added right before eating for a garden-fresh burst. Meanwhile, robust spices like cumin and smoked paprika deepen in flavor over time, enhancing your meal’s complexity.
Q8: How can I revive or refresh meals that have lost a bit of their original flavor?
A8: A quick splash of acidity-think lemon juice or a drizzle of vinegar-can brighten up a dish instantly. Adding fresh herbs or a dash of seasoning before reheating helps revive taste. For grain bowls or casseroles, stirring in a spoonful of olive oil or a sprinkle of toasted nuts can restore texture and depth.
Q9: Are there any foods that don’t store well for meal prep?
A9: Some foods are divas when it comes to storage. Delicate greens like arugula wilt quickly, soft cheeses soften or puddle, and avocado can oxidize and brown. It’s best to prep these fresh or store them separately, adding last-minute to preserve that “just-made” magic.
Q10: how does temperature affect the freshness of prepped meals?
A10: Consistency is king! Fluctuating fridge temperatures accelerate spoilage. Keep your fridge at or below 40°F (4°C) and the freezer at 0°F (-18°C). Let hot foods cool to room temperature before storing to avoid raising the overall temperature and encouraging bacteria growth.
With these smart storage solutions, your meal prep won’t just survive the week-it will thrive, bursting with fresh flavors every time you open your fridge!
The Conclusion
With these smart storage strategies up your sleeve, Master Meal Prep transforms from a routine chore into a culinary art form—where freshness meets convenience in every bite. By embracing Master Meal Prep, you master the balance of proper containers, optimal temperatures, and thoughtful portioning to ensure your flavors stay vibrant and your ingredients stay crisp. Master Meal Prep is more than just organizing your fridge—it’s about crafting a system that keeps your meals delicious day after day. So go ahead, Master Meal Prep with confidence, store with care, and savor the satisfaction of flavorful meals waiting patiently in your fridge or freezer. After all, with Master Meal Prep, a well-preserved meal isn’t just food saved—it’s taste perfected.