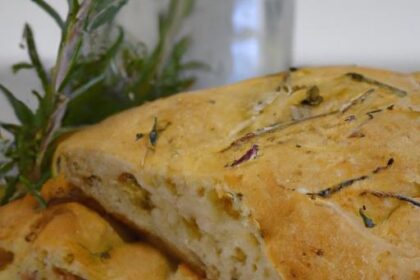

In the realm of baking, few challenges spark as much curiosity-and frustration-as mastering the art of gluten-free creations. Without the familiar stretch and structure that gluten provides, baking becomes a delicate dance of chemistry and intuition. Yet, behind every beautifully risen loaf or tender crumb lies a fascinating world of science at work. “The Science behind perfect Gluten-Free Baking Magic” dives deep into this enchanting interplay, unraveling how ingredients, techniques, and a sprinkle of culinary alchemy converge to transform humble gluten-free flours into delicious masterpieces. Whether you’re a passionate home baker or simply gluten-curious, prepare to uncover the secrets that turn ordinary mixes into extraordinary edible magic.
The science Behind Perfect Gluten-Free Baking Magic: Mastering Texture and Flavor
The Science Behind Perfect Gluten-Free Baking Magic unlocks a world where traditional baking transforms to embrace alternative flours and the chemistry of binders. Baking without gluten doesn’t mean compromising on taste or texture – in fact, with the right understanding, you can create light, fluffy, and moist delights that rival their wheat-based counterparts. This journey will guide you through replicating gluten’s unique role and mastering the perfect balance of ingredients for truly magical gluten-free treats.
Prep and Cook Time
- Prep Time: 20 minutes
- Cook Time: 30-40 minutes (varies with recipe)
- total Time: Approximately 1 hour
Yield
Yields approximately 12 servings, ideal for sharing or savoring throughout the week.
Difficulty Level
Medium: Requires understanding flour blends and timing, but approachable for passionate bakers ready to explore gluten-free baking science.
Ingredients
- 1 cup almond flour, finely ground
- 1 cup white rice flour, sifted
- ½ cup tapioca starch (for bounce and chew)
- 2 tsp xanthan gum (binder replacement for gluten)
- 1 tbsp baking powder, gluten-free certified
- ½ tsp baking soda
- ¾ cup coconut sugar (or organic cane sugar)
- ½ tsp fine sea salt
- 3 large eggs, room temperature
- 1 cup unsweetened almond milk
- ¼ cup melted coconut oil (or neutral vegetable oil)
- 1 tbsp apple cider vinegar (activates leavening)
- 1 tsp pure vanilla extract
Instructions
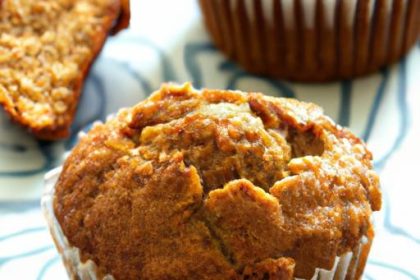
- Preheat your oven to 350°F (175°C). Grease and line a 9-inch round cake pan with parchment paper for easy release.
- In a large bowl, whisk together the almond flour, rice flour, tapioca starch, xanthan gum, baking powder, baking soda, coconut sugar, and salt.Make sure to sift or whisk well to aerate the dry mix – this helps produce that desirable light texture.
- In a separate medium bowl, beat the eggs, almond milk, melted coconut oil, apple cider vinegar, and vanilla extract untill smooth and slightly frothy. The vinegar reacts with the baking soda for an extra lift.
- Gradually combine the wet ingredients into the dry ingredients, folding gently with a spatula until you achieve a smooth batter. Be careful not to overmix – this could make the crumb dense.
- Pour the batter into your prepared pan and smooth the surface with a spatula. Tap gently on the counter to release any trapped air bubbles.
- Bake for 30 to 40 minutes,or until the top is golden and a toothpick inserted in the center comes out clean. oven times can vary, so start checking at the 30-minute mark to avoid overbaking.
- Allow the cake to cool in the pan for 10 minutes, then transfer to a wire rack to cool wholly. This resting period lets the crumb set for a moist yet airy texture.
Tips for Success
- Choose flours wisely: The interplay between almond flour’s richness and rice flour’s subtle neutrality creates a tender crumb, while tapioca starch adds bounce and crispness. Swap almond flour with sunflower seed flour if nut allergies exist.
- xanthan gum is your gluten substitute: It mimics gluten’s “stickiness,” binding ingredients together. Too little and your baked goods crumble; too much and they become gummy.
- Moisture matters: Incorporate fats like coconut oil and liquids such as almond milk, but avoid overhydrating which can weigh down your bake.
- Activate your leaveners: Apple cider vinegar and baking soda create the essential rise and lightness many gluten-free baked goods lack.
- Pre-measure and sift your flours: This prevents clumps and results in an even, airy batter.
- Use room temperature eggs and liquids: They combine more thoroughly, improving the batter’s texture.
- Make-ahead tip: Bake the day before serving. Store airtight at room temp to allow flavors to meld, ensuring moistness and deeper flavor.
Serving Suggestions
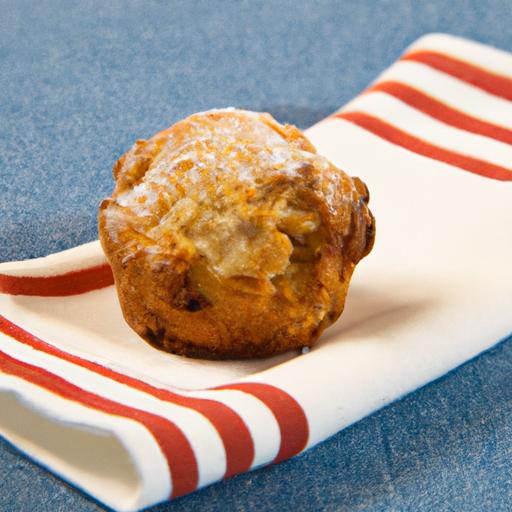
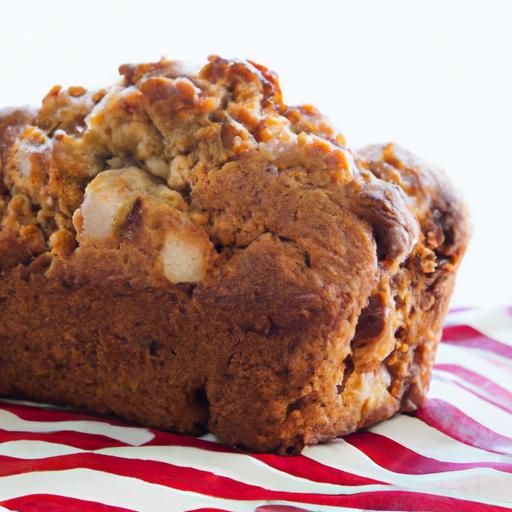
Present your gluten-free masterpiece topped with a dusting of powdered coconut sugar and a scattering of fresh berries for a burst of color and tang. A dollop of whipped coconut cream or a drizzle of homemade berry coulis complements the moist,tender crumb beautifully. For a warm treat, serve slightly toasted with a pat of vegan butter melting over the top.

| Nutrient | Per serving |
|---|---|
| Calories | 210 kcal |
| Protein | 5 g |
| Carbohydrates | 22 g |
| Fat | 12 g |
For a deeper dive into alternative flour blends and their individual properties, check out our related guide on Ultimate Guide to Gluten-Free Flour Blends. Additionally, the Celiac Disease Foundation’s expert resources offer invaluable insights into gluten-free baking science.
Q&A
Q&A: The Science Behind Perfect Gluten-Free baking Magic
Q1: Why is gluten so important in traditional baking?
A1: Gluten acts like a stretchy, elastic network that traps gas bubbles produced by yeast or baking powder.This gives baked goods their structure, chewiness, and rise. Without gluten,the dough is often crumbly and dense. Understanding how gluten works helps bakers find ways to replicate that structure when using gluten-free ingredients.
Q2: What makes gluten-free flours different from wheat flour?
A2: Gluten-free flours come from sources like rice, almond, coconut, or tapioca, and they lack the protein network gluten provides. Each type has a unique starch and protein composition, which affects absorption, texture, and flavor. For example, rice flour is gritty, almond flour adds moisture and richness, and tapioca starch contributes bounce and chew.
Q3: How can bakers mimic the elasticity of gluten?
A3: To recreate that stretchy quality, gluten-free bakers often turn to binders like xanthan gum, guar gum, or psyllium husk. these ingredients help hold the dough together,trap air,and create a springy texture. Think of them as the magical threads weaving a delicate net to support the dough’s rise.
Q4: What role do starches play in gluten-free baking?
A4: Starches are the unsung heroes that provide structure and tenderness. Starches like potato, tapioca, or corn can definitely help create moisture retention and improve crispness in crusts. They also gelatinize when heated, helping to set the crumb and prevent it from becoming overly crumbly or dry.
Q5: Why is hydration so critical in gluten-free recipes?
A5: Gluten-free flours often absorb liquids differently and tend to be drier or coarser. proper hydration ensures the dough or batter is sufficiently moist, which impacts texture and flavor. Balancing water, milk, or alternative liquids can transform a bland, crumbly bake into a soft, tender delight.
Q6: How does the combination of flours affect the final product?
A6: Using a blend of gluten-free flours balances the unique properties of each. For instance, pairing a denser flour like chickpea with a lighter starch like tapioca can yield a crumb that is both moist and airy.Crafting the perfect blend is a bit like composing a symphony where each instrument plays a vital role.
Q7: Can fermentation or resting times improve gluten-free dough?
A7: Absolutely! Allowing gluten-free dough or batter to rest gives flours time to hydrate fully and starches to swell. This enhances the texture, making the bake less gritty and more cohesive. Fermentation, when applicable, can add complexity to flavor and improve crumb structure as well.
Q8: How does temperature influence gluten-free baking magic?
A8: Temperature controls the rate of chemical reactions like leavening and starch gelatinization. Baking too hot can dry out the crumb, while too low may prevent proper rising. Additionally, warming certain flours and gum mixtures before baking can improve their elasticity and performance.
Q9: what common mistakes should bakers avoid when trying gluten-free recipes?
A9: One mistake is treating gluten-free flours like wheat flour – a one-to-one substitution rarely works. Overmixing can break down fragile doughs, resulting in dense bakes. Also, skipping binders or neglecting to adjust liquid ratios often leads to disappointing textures. Patience and precision are key in this science-driven craft.
Q10: Is gluten-free baking a science or an art?
A10: Its a delightful marriage of both! Science offers the understanding and tools-knowing how proteins, starches, and liquids interact. Art brings intuition, experimentation, and creativity, transforming humble ingredients into magical, delicious baked wonders. Perfect gluten-free baking is where knowledge meets creativity.
Closing Remarks
As the oven timer dings and your gluten-free creation emerges golden and glorious, remember that behind every tender crumb and delightful rise lies a symphony of science at work. From the chemistry of alternative flours to the magic of moisture-binding agents, mastering gluten-free baking is less about mystery and more about mindful experimentation. Armed with this knowledge, you’re no longer just following recipes-you’re orchestrating edible miracles, proving that with the right blend of science and creativity, the perfect gluten-free bake isn’t a rare treasure but a deliciously achievable reality. so go ahead, mix, measure, and marvel: your next gluten-free masterpiece is just a scientific spark away.